Turkish Baklava (Great Grandmother’s Recipe)
HOMEMADE BAKLAVA RECIPE VIDEO
Note: By clicking on this video, you allow third parties (YouTube and Google) to access your data. Visit our privacy policy for more info.
In Türkiye, baklava means bayram and guests.
The word baklava is thought to come from the Proto-Turkic root bakl- meaning “to wrap up” or “to pile up,” a nod to its delicate, layered form. Over time, it travelled across empires and cultures, finding perfection in the Ottoman kitchens, renowned for their richness, precision, and artistry.
During celebrations like Şeker Bayramı or Kurban Bayramı (our versions of Christmas), every home prepares its heirloom baklava recipe; each one a little different with the maker’s elinin lezzeti (“the flavour that comes from one’s hands”). I still remember my grandma baking her mother’s baklava on the eve of bayram, pouring the syrup fresh in the morning as the whole house filled with the scent of warm butter and toasted walnuts.
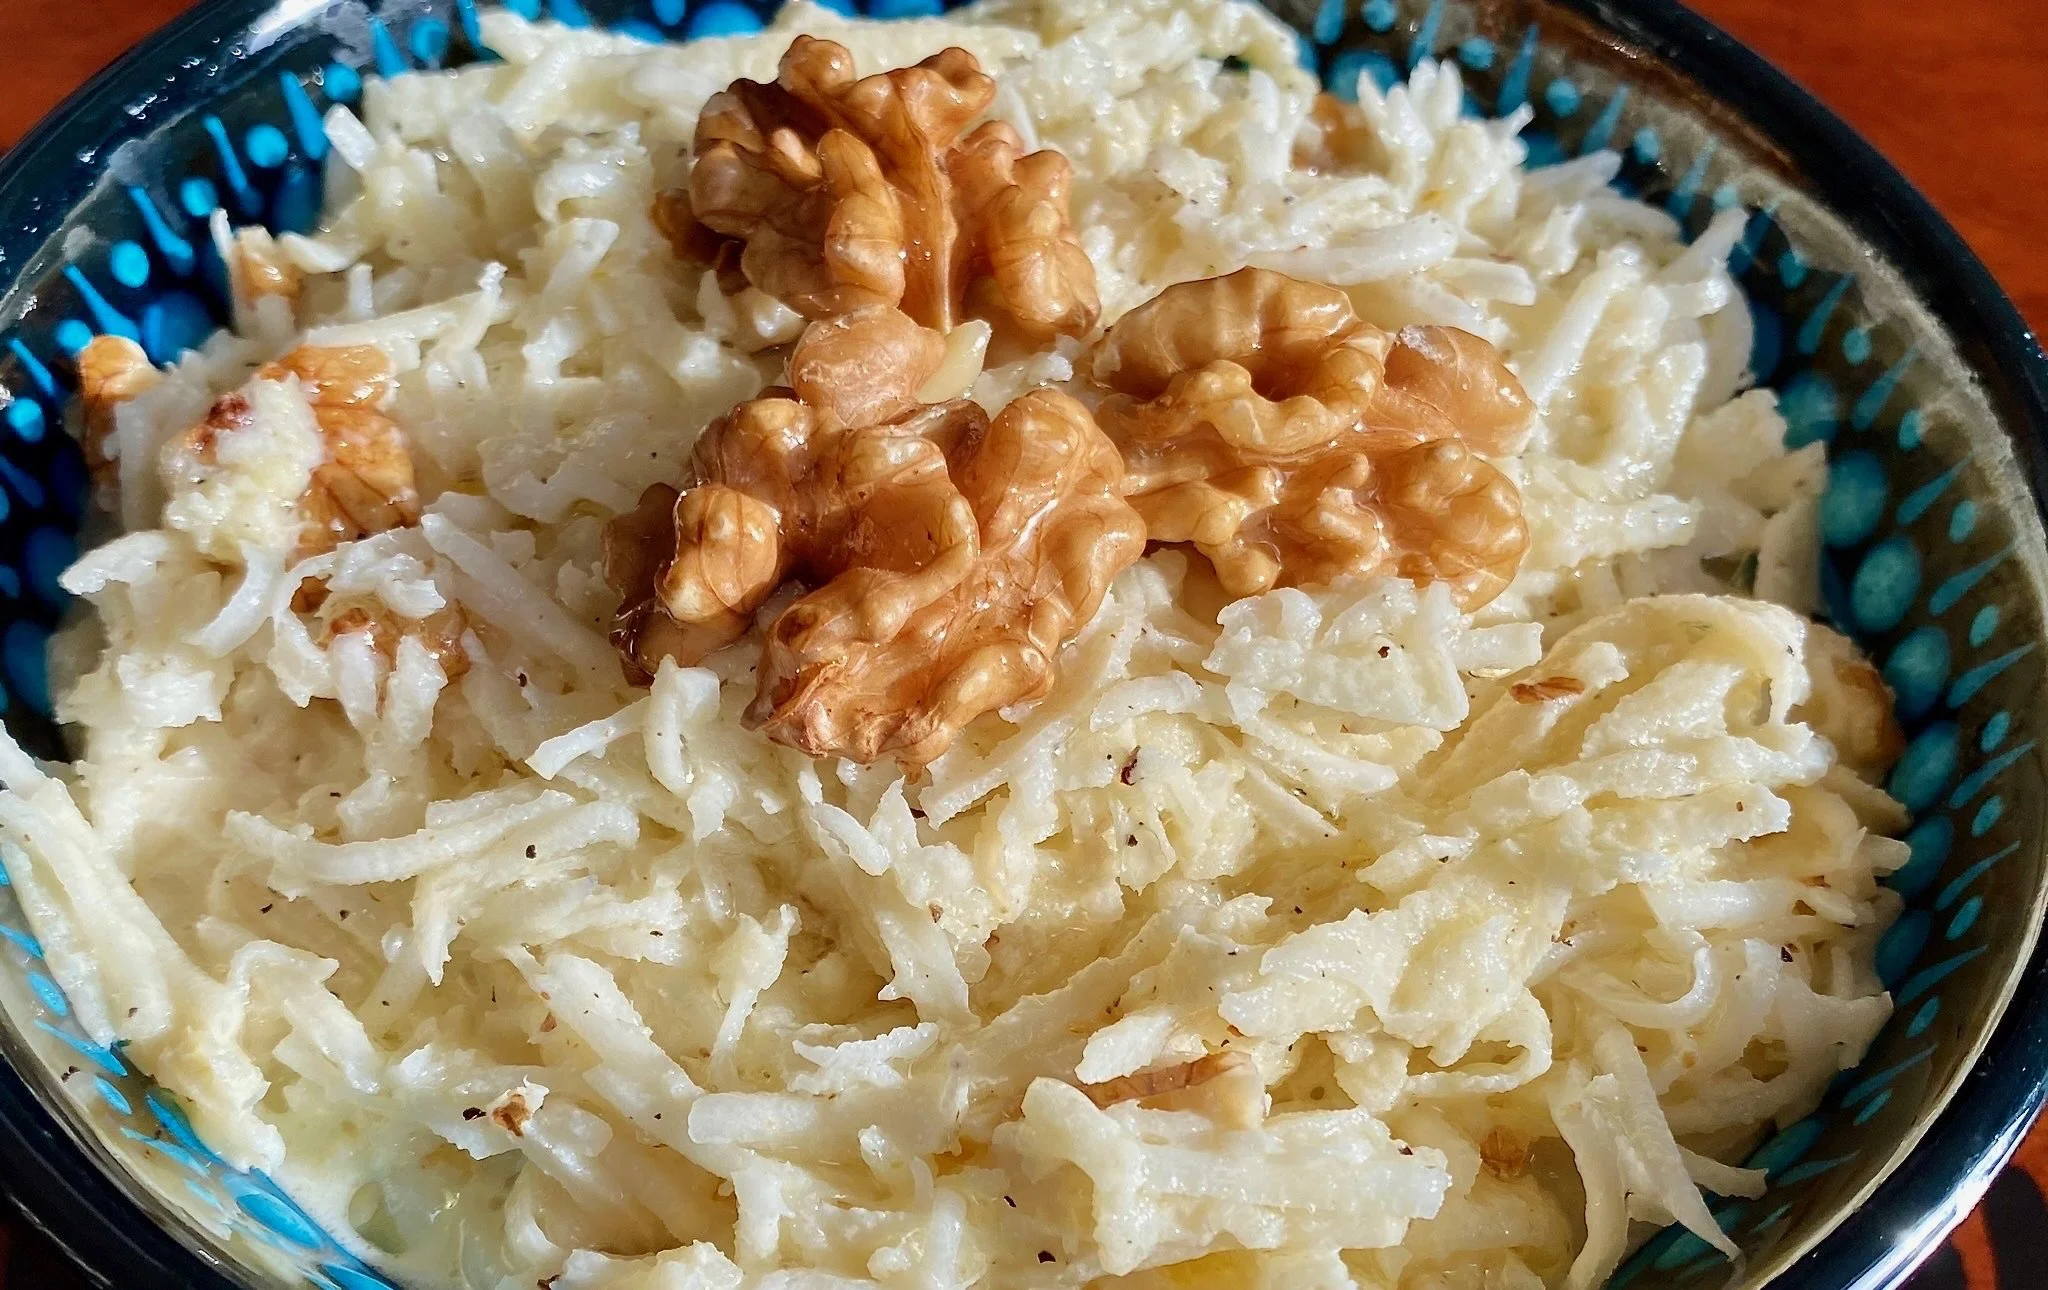
Our family uses walnuts, traditional to the Marmara and Central Anatolia regions of Türkiye. Although, like all traditional dishes, baklava is influenced by local flora. It is made with pistachios in the southeast where they shine best, and hazelnuts in Black Sea region where the climate and geography favours them.
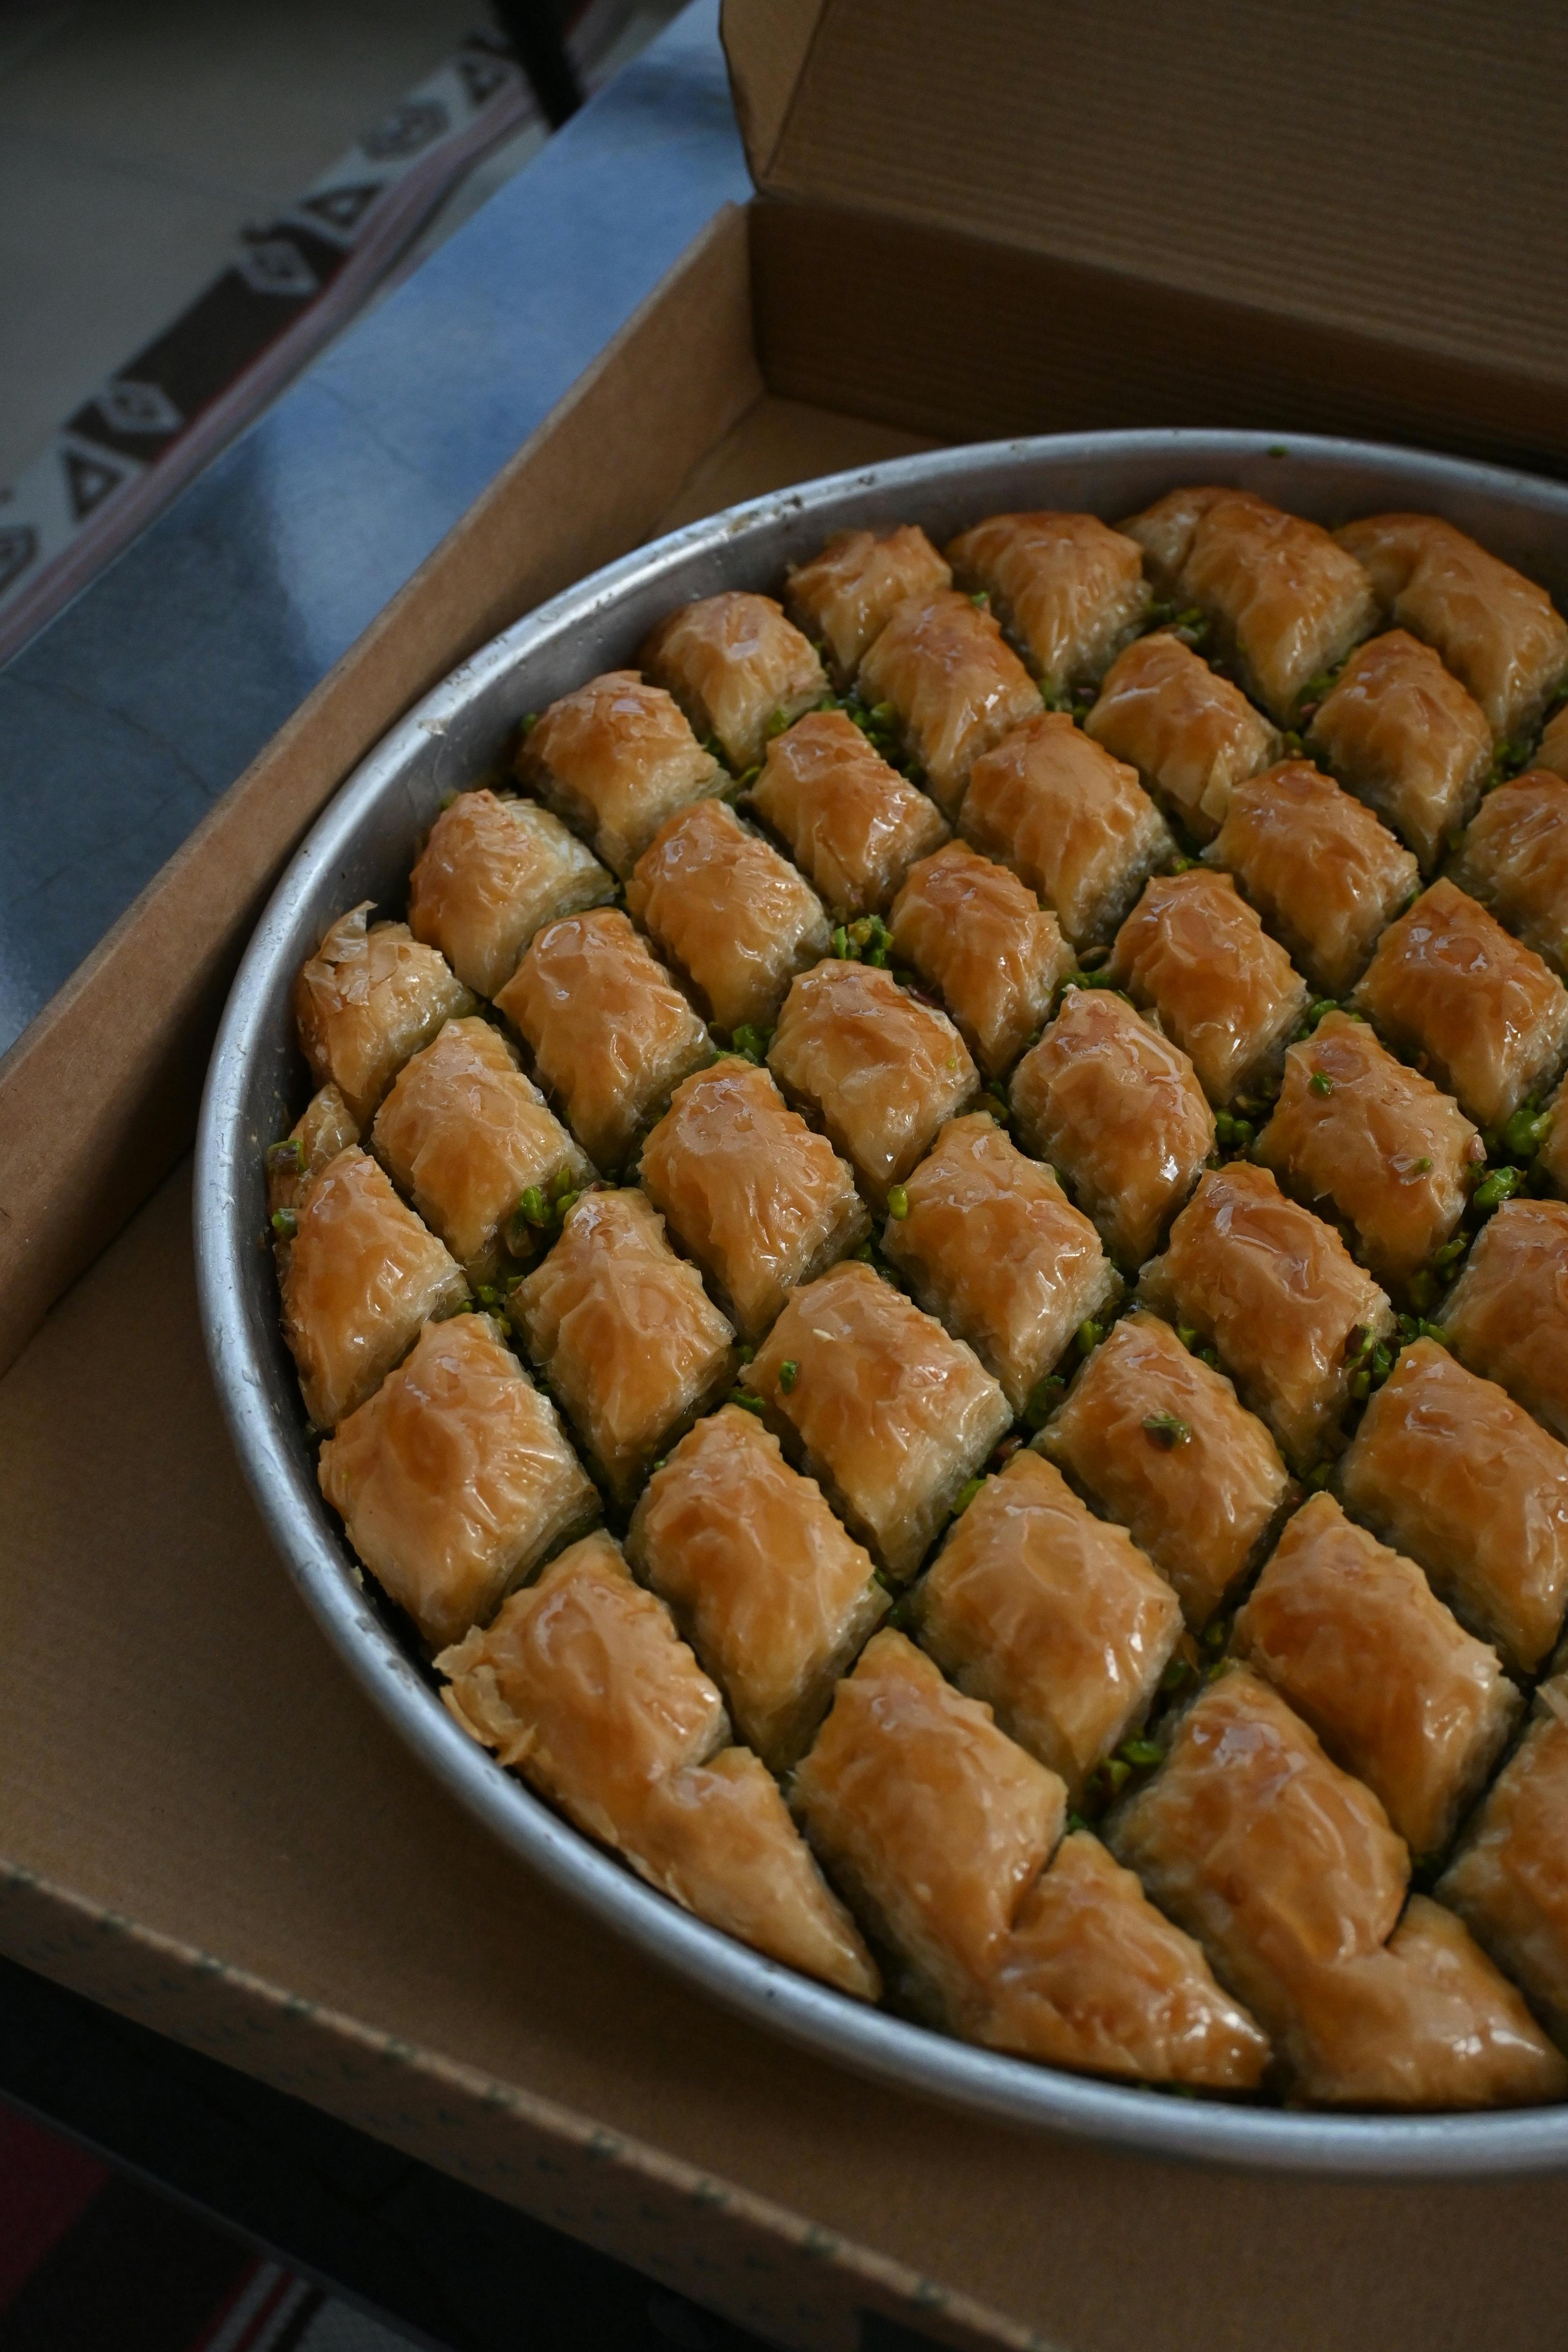
Whichever you choose, the magic lies in the layers. Making baklava takes patience and a bit of faith in yourself (it isn’t an everyday dessert for good reason), but each golden, diamond-shaped piece is a reward of its own: crisp, nutty, tender, and sweet. Here’s our family’s baklava recipe, from our home to yours…
Afiyet olsun!
Ingredients
For the dough:
1 egg
1 cup yogurt
1 cup sunflower oil
1 tbsp vinegar
¼ tsp salt
½ tsp baking powder
3-4 cups flour
For shaping:
2 cups flour
2 cups cornstarch
For the filling:
750 g walnuts (chopped)
750 g butter
For the syrup:
7 cups sugar
7 cups water
Juice of ½ lemon
Directions
THE FILLING:
Using a food processor, pulse 750 g walnuts into small pieces. Set aside.
THE DOUGH:
In a large bowl, whisk together 1 egg, 1 cup yogurt, 1 cup sunflower oil, 1 tbsp vinegar, ¼ tsp salt, ½ tsp baking powder.
Sift in 2 cups of flour and mix until the mixture begins to thicken.
Gradually add up to 3-4 cups of total flour while kneading, until the dough is soft and elastic (15-20 minutes). We want the “earlobe” softness.
Form into a ball, cover and let rest for 30 minutes at room temperature.
Divide the dough into 30 equal pieces and roll them into small balls. Cover with a towel to keep moist.
SHAPING & LAYERING:
Mix together 2 cups flour + 2 cups starch. Generously dust the counter and the dough pieces.
Using a long and thin rolling pin (a.k.a. oklava or baklava rolling pin), roll each piece into ~20 cm wide rounds. After rolling five rounds, stack and roll them out together into wider and wider rounds to form one phyllo layer. Repeat with the rest of the dough pieces to form multiple layers. (See video for a visual guide)
Place a couple layers of phyllo in the tray, sprinkle evenly with chopped walnuts, layer with more dough, and repeat for about 40 layers. For the top layer of baklava, pick the smoothest sheet of phyllo and trim the edges to fit the tray.
Using a sharp knife, cut the baklava into bite-sized diamonds.
BUTTER & BAKING:
Melt 750 g butter on medium heat; skim off foam and milk solids.
Pour the hot butter evenly over the baklava tray.
Pre-heat oven to 350 °F (175 °C). Bake for ~1 hour, until golden brown.
Note: You may also have to wait a day or two before pouring syrup. If so, reheat the dry baklava in the oven, just before applying the syrup.
PREPARING THE SYRUP:
While the baklava is baking, bring 7 cups sugar + 7 cups water to a boil. After sugar dissolves, add juice of ½ lemon.
Pour one-third of the syrup over the hot baklava immediately. Then continue boiling the remaining syrup for ~30 minutes, until a drop forms a dense ball on a cold surface. Pour the thickened syrup over the baklava evenly.
Let it sit for at least 5 hours (or overnight) uncovered.
SERVING:
Once fully soaked, cut along the pre-scored lines. Serve baklava in small portions alongside a strong Turkish coffee or a refreshing cold drink. This dessert shines at celebrations, gatherings, or whenever you want a moment of pure indulgence.
[Notes from the Kitchen]
Dough Texture: Kneading for ~20 minutes until soft like an earlobe ensures elasticity and shine after baking. (kulak memesi kıvamında, or “earlobe consistency” is one of the most common terms Turkish grandmas use to describe dough. It means soft and elastic.)
Filling: We prefer walnuts for their warm, rich flavour. Pistachios and hazelnuts are more common in some regions or Türkiye, and we’ve also seen almonds used in modern versions. So, feel free to experiment! The important thing is to cut/process the filling such that the grain size is small enough to spread evenly without turning it into dust. A fine, dusty filling will make a soggy baklava. Conversely, if the nut pieces are whole or cut too big, they might compete with the crispy fine dough or fall out during serving. Remember, the goal is to feel a slight nutty crunch in each bite.
Layering Matters: The secret to perfect baklava is ultra-thin dough layers and an even and clarified butter distribution. Clarified butter provides air pockets for crispy volume and prevents black specks on the baklava (burned milk proteins). Traditionally, baklava should have 40 layers with alternating dough and filling, but it’s also okay (and easier for beginners) to stack 5 sheets of phyllo with one layer of filling. Just don’t go over 5 phyllos in one layer, or your baklava might turn out too dense and chewy.
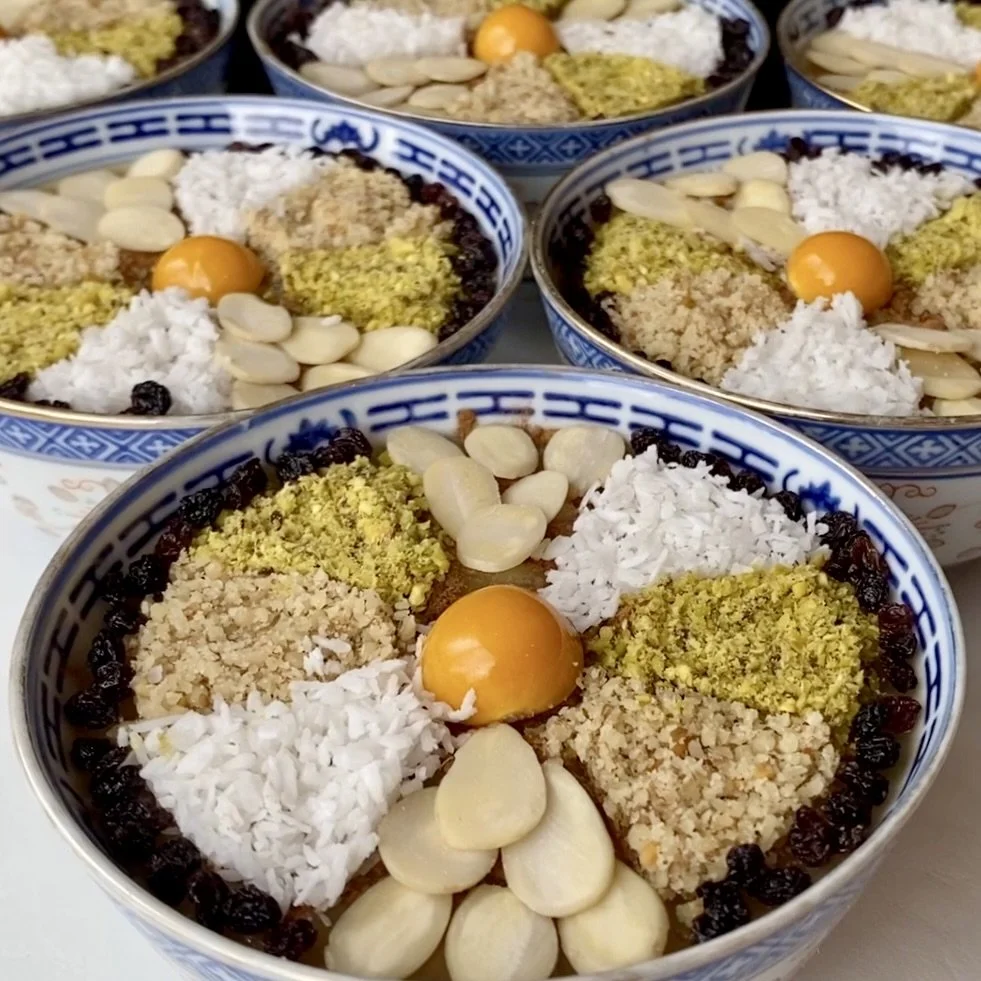
Cutting the Baklava: If you have to cut a slice of baklava on your plate, it is too big. Although modern versions come in all shapes and sizes, baklava was first made as a quick treat, small enough to finish in one bite. When the goal is bite-sized, a circular shape is too wasteful, and that’s why baklava is traditionally cut into squares or diamonds. For a square/rectangular tray, cut the baklava into lengthwise strips, then diagonally into bite-sized diamonds, or perpendicularly for bite-sized squares. For a round tray, first cut into four, then eight equal pie sections, then cut diagonally through the initial lines into bite-sized diamonds.
Syrup Timing: Pouring syrup while baklava is hot locks in crunch and prevents sogginess.
Storage: Store in a cool, dry place. Avoid refrigerating if you want to preserve crisp layers.